Sewing Your Own Marine Canvas: Tools, Fabric and First Projects
For most owners, the best entry point into marine canvas work is a walking-foot machine like the Sailrite Ultrafeed LSZ-1, solution-dyed Sunbrella acrylic for the fabric, and a first project no more ambitious than a winch cover or sail cover. A household sewing machine cannot reliably feed multiple layers of acrylic and vinyl through a seam — that single mechanical difference is what makes or breaks a DIY canvas project before you've even chosen fabric.
This guide covers the tools, materials and hardware that actually matter for sewing your own covers, shades and eventually a bimini top — plus where DIY genuinely saves money and where a professional canvas shop is still the better call. If you'd rather skip straight to a professionally built dodger or enclosure, our bimini, dodger and enclosure guide covers that route instead.
Sailboat Atlas may earn a commission from qualifying purchases made through links on this page, at no extra cost to you.
What a home machine can — and can't — sew
The single biggest reason DIY canvas projects fail isn't fabric choice or skill — it's trying to sew multiple stacked layers on a machine that only feeds from the bottom. A household machine has one feed dog under the fabric and a stationary presser foot on top. Sew a single layer of light cloth and that works fine. Sew two or three layers of 9-10oz acrylic, foam padding and vinyl backing at a bimini seam, and the top layer creeps ahead of the bottom, producing puckers, skipped stitches, or a seam that simply jams the machine.
A walking-foot (compound feed) machine solves this by moving the presser foot in sync with the feed dog, so every layer advances together. That's the mechanical difference that separates "can sew a pouch" from "can sew a dodger panel," and it's why every serious DIY canvas guide starts with the machine, not the fabric.
Choosing needle and thread for outdoor synthetic fabric
Needle and thread sizing follows fabric weight and layer count. V69 bonded polyester thread with a size 16-18 needle handles single-layer and lighter sail cover seams. Move up to V92 thread and a slightly heavier needle for multi-layer bimini and dodger seams, where the extra thickness resists abrasion at the fold.
For anything that lives outdoors permanently, thread UV stability matters as much as strength. Standard bonded polyester is UV-resistant enough for most projects, but PTFE thread resists UV degradation even longer and is worth the extra cost on a bimini or dodger seam that will spend a decade in full sun — that's often the seam that fails first on an older boat's canvas, well before the fabric itself gives out.
Solution-dyed acrylic vs vinyl vs mesh vs clear vinyl
Solution-dyed acrylic like Sunbrella is the default for covers, cushions and vertical panels: it breathes, resists fading because the color runs through the fiber, and is what most patterns and hardware assume you're using. Coated vinyl is heavier, fully waterproof, and better suited to bimini and dodger tops where shedding rain matters more than breathability — but it doesn't breathe, so gear stored under it can trap moisture.
Mesh — shade cloth versions of the same acrylic weave — trades some sun blockage for airflow, and is the right call for cockpit sun shades and enclosure side panels where a stifling closed-in feel is the actual problem you're solving. Clear vinyl is reserved for dodger and enclosure windows; it ages and yellows faster than any other material here, so most owners treat it as a wear item to be replaced on its own schedule rather than something to get "right" once.
Patterning with tape, pattern film, and basting
Nearly every canvas guide teaches the same patterning method: cover the existing part (or the boat surface where a new cover will fit) with painter's tape, mark and trim the tape pattern directly on the boat, then transfer that shape to clear plastic pattern film before ever cutting fabric. It's slow, but it's the only reliable way to capture a curved bimini bow or a dodger's compound shape without expensive trial-and-error cuts on real fabric.
Once panels are cut, basting tape — a thin double-sided adhesive strip — holds layers in position on the machine bed so they don't shift before the walking foot ever touches them. Build in seam allowance beyond your pattern lines, and expect a small amount of shrinkage as tension is drawn up through a sewn seam; patterns that fit dead-on before sewing often come out slightly tight afterward if allowance wasn't generous enough.
Cutting cleanly and setting hardware
Scissors leave a raw edge on woven acrylic and webbing that frays within a wash or two. A hotknife melts and seals the edge as it cuts, which matters most on long straight runs and on webbing ends that would otherwise need a lighter touch-up afterward. Always cut over a heat-safe surface with ventilation — melting synthetic fiber produces fumes you don't want in a closed cabin.
Hardware — snap fasteners, twist locks, zippers and grommets — all need to be set with even, consistent pressure through a matched die. A hand-operated setting tool gets a properly seated result on deck without a bench press, but the dies are size- and often brand-specific, so match your die set to the actual hardware you've bought before you start setting fasteners into finished panels.
A realistic first-project ladder
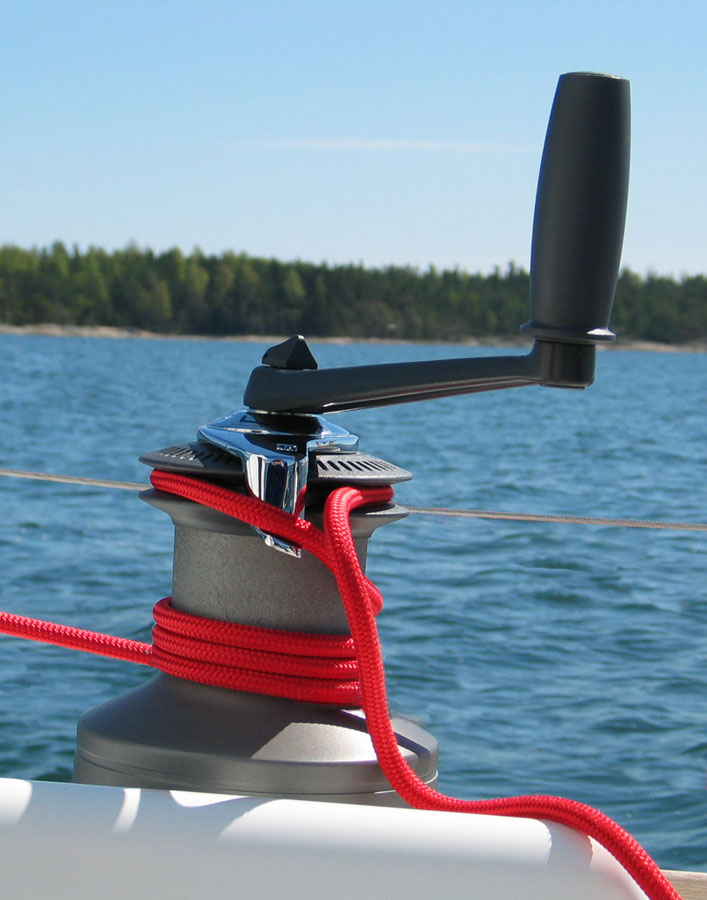
Start with winch covers — small, flat, forgiving, and a good place to practice basting, straight seams and setting your first snaps. Move to a sail cover next: still mostly straight seams, but longer runs and a foot closure, which is why kits built around this project are a common recommended second step. A flat cockpit sun shade introduces basic curved patterning without the structural complexity of bows.
Only after those should most sewers attempt a bimini top skin, which adds structural bows, curved seams and often a boot or storage cover. A dodger — with compound curves, clear vinyl windows, and a frame that has to fit exactly — is the hardest project in the ladder and the one where many DIY sewers reasonably decide to commission a shop instead, as discussed in our bimini, dodger and enclosure guide.
What DIY actually saves — and where a shop still wins
Labor is most of what a canvas shop bills for, so DIY savings are largest on labor-heavy, geometrically simple items: winch covers, sail covers and flat shades. Fabric and hardware for these projects cost a fraction of a shop's finished price. On a dodger or full enclosure with compound curves and clear vinyl windows, the time investment to get a professional-looking result on a first attempt is substantial, and a shop's experience patterning tight curves is difficult to replace with tutorials alone.
Many owners land on a hybrid approach: sew their own sail covers, winch covers and sun shades, and pay a shop for the dodger and enclosure where fit and weatherproofing really matter. If sail material and coverage decisions come up during your project, our sail materials guide and furling systems guide cover the sail side of things a cover has to fit around.
Our picks
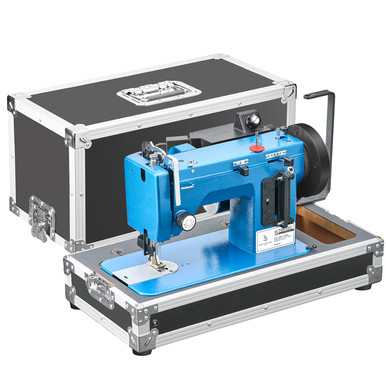
Sailrite Ultrafeed LSZ-1
Best home sewing machine for marine canvas
This is the machine that makes DIY canvas work realistic in the first place. A domestic machine's single feed dog cannot pull three or four layers of solution-dyed acrylic, foam and vinyl through together — the top layer bunches or the needle deflects and skips stitches. The Ultrafeed's walking foot grips from above and below at the same time, so a bimini seam or a sail cover panel feeds flat. It is slow compared with an industrial machine, but for someone building one or two covers a season rather than running a loft, that trade-off is the right one.
- Feed
- Walking-foot (compound feed) mechanism, top and bottom feed dogs plus a moving foot
- Stitch
- Straight and zigzag, portable tabletop version available
- Thread range
- Handles up to roughly V138 bonded polyester on straight stitch
- Motor
- Servo motor option with adjustable speed control
Pros
- Walking foot moves multiple layers of acrylic and vinyl through evenly, instead of the top layer creeping ahead of the bottom
- Portable enough to sew on a cockpit table or a saloon settee rather than needing a dedicated shop
- Sailrite's own instructional videos are written for exactly this machine and this kind of project
Cons
- Considerably more expensive than a household sewing machine, and still a real purchase even at the low end of the walking-foot category
- The straight-stitch-only base model needs an accessory zigzag conversion for webbing and sail repair work
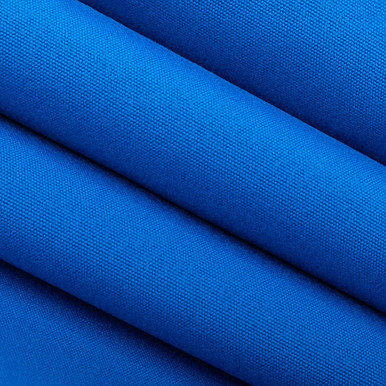
Sunbrella Marine Grade Fabric
Best fabric for a first canvas project
For winch covers, sail covers, sun shades and most of a bimini top, solution-dyed acrylic is the default choice, and Sunbrella is the fabric most patterns, hardware and thread are matched to. Buy from a reputable canvas or upholstery supplier rather than a general fabric store — marine-grade weights and finishes differ from Sunbrella's furniture-grade lines. Order a swatch first: color reads differently under boat-deck sunlight than on a screen, and confirming a hand-feel for the weight you want prevents an expensive re-order once you've already cut patterns.
- Fiber
- Solution-dyed acrylic — the color runs through the fiber, not just the surface
- Weight
- Marine grade weights are typically in the 9-10 oz/sq yd range
- Width
- Sold off the roll in standard 46-in and 54-in widths
- Water resistance
- Factory finish repels water; breathable weave resists mildew growth better than coated vinyl
Pros
- Solution dyeing means small scuffs and abrasion don't expose a different color underneath the way pigment-coated fabrics can
- Breathes, so covers over damp gear or a covered dinghy are less prone to mildew than sealed vinyl
- Enormous color and pattern range, and it's the fabric every online tutorial and pattern assumes you're using
Cons
- Not waterproof on its own for something like a dodger window surround — it resists rain, it does not seal out a green wave
- The factory water repellency fades over years of UV and needs periodic re-treatment to keep performing
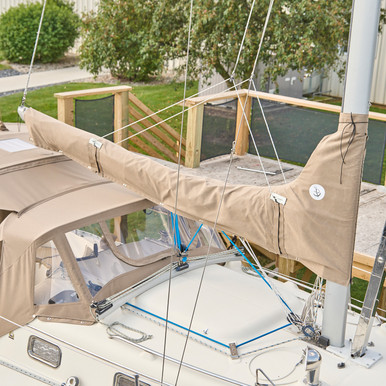
Sailrite Sail Cover Kit
Best guided first project for a new canvas sewer
Sailrite's kit format exists specifically to get first-time sewers a finished, usable project without the steepest learning curve of patterning from scratch. You provide boom length and sail dimensions, the kit arrives with panels already cut to size, and the sewing itself is mostly long straight runs along a walking-foot machine — exactly what that machine is best at. It's a sensible bridge before attempting a shaped bimini panel or a dodger with curved seams and clear vinyl windows, and the finished cover is genuinely usable, not just a practice piece.
- What's included
- Pre-cut or made-to-measure Sunbrella panels, thread, webbing and closures sized to your boom and sail
- Ordering
- Built from boat measurements you supply, rather than a generic off-the-shelf size
- Closure options
- Typically snap, hook-and-loop, or zipper closure along the foot, depending on kit choice
- Skill level
- Designed as a beginner-friendly first sewing project with mostly straight seams
Pros
- A sail cover is nearly all straight seams and a foot closure, which makes it the most forgiving first real project after practice scraps
- Kit fabric is pre-cut to your measurements, which removes the hardest part of a first project — pattern making
- Success here builds the exact skills — pinning basted layers, sewing straight through a walking foot, setting snaps — needed for everything bigger
Cons
- Made-to-measure kits still require accurate measuring of your boom and sail, and an error there means an ill-fitting cover
- A kit costs more per yard of fabric than buying yardage and hardware separately, since you're paying for the cutting and pattern work
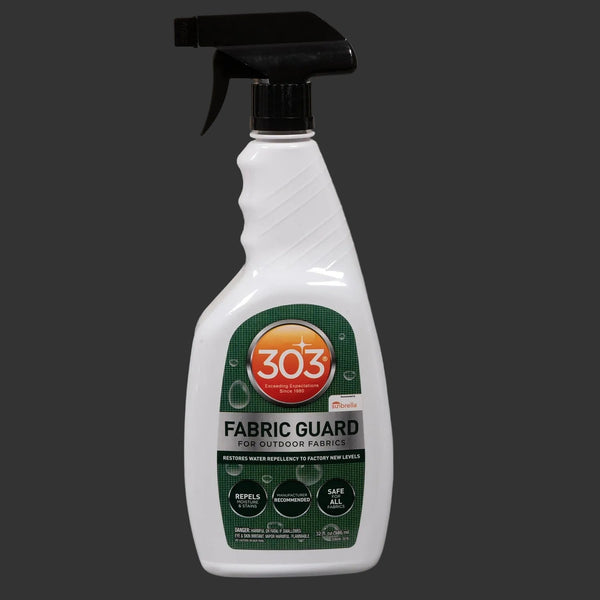
303 Fabric Guard
Best UV and water-repellency re-treatment for canvas
UV, not rain, is what actually ends the life of marine canvas — sunlight breaks down the fiber and the thread long before water does meaningful damage. Re-treating with a UV-rated fabric guard once a season is the cheapest maintenance available for anything you've sewn or bought, and it's most of what separates a bimini top that lasts five years from one that lasts twelve. Wash the fabric with a proper marine canvas cleaner first, let it dry fully, then apply guard in even, light coats rather than one heavy soaking pass.
- Form
- Spray-on liquid treatment, applied to clean, dry fabric
- Function
- Restores water beading and adds UV protection to acrylic and vinyl fabrics
- Reapplication
- Manufacturer guidance suggests reapplying roughly annually or when water stops beading
- Coverage
- Sold in spray bottles and larger refill sizes for bigger covers
Pros
- Restores factory-like water beading on fabric that has started soaking through instead of shedding rain
- Adds meaningful UV protection, which is the actual mechanism that kills marine canvas over time
- Easy enough to apply on deck with a hose rinse and a sunny drying day — no shop trip required
Cons
- It restores a finish, it doesn't repair fabric that has already gone brittle or started to tear along stitch lines
- Needs a genuinely clean, mildew-free surface first, or you're sealing dirt and spores into the weave
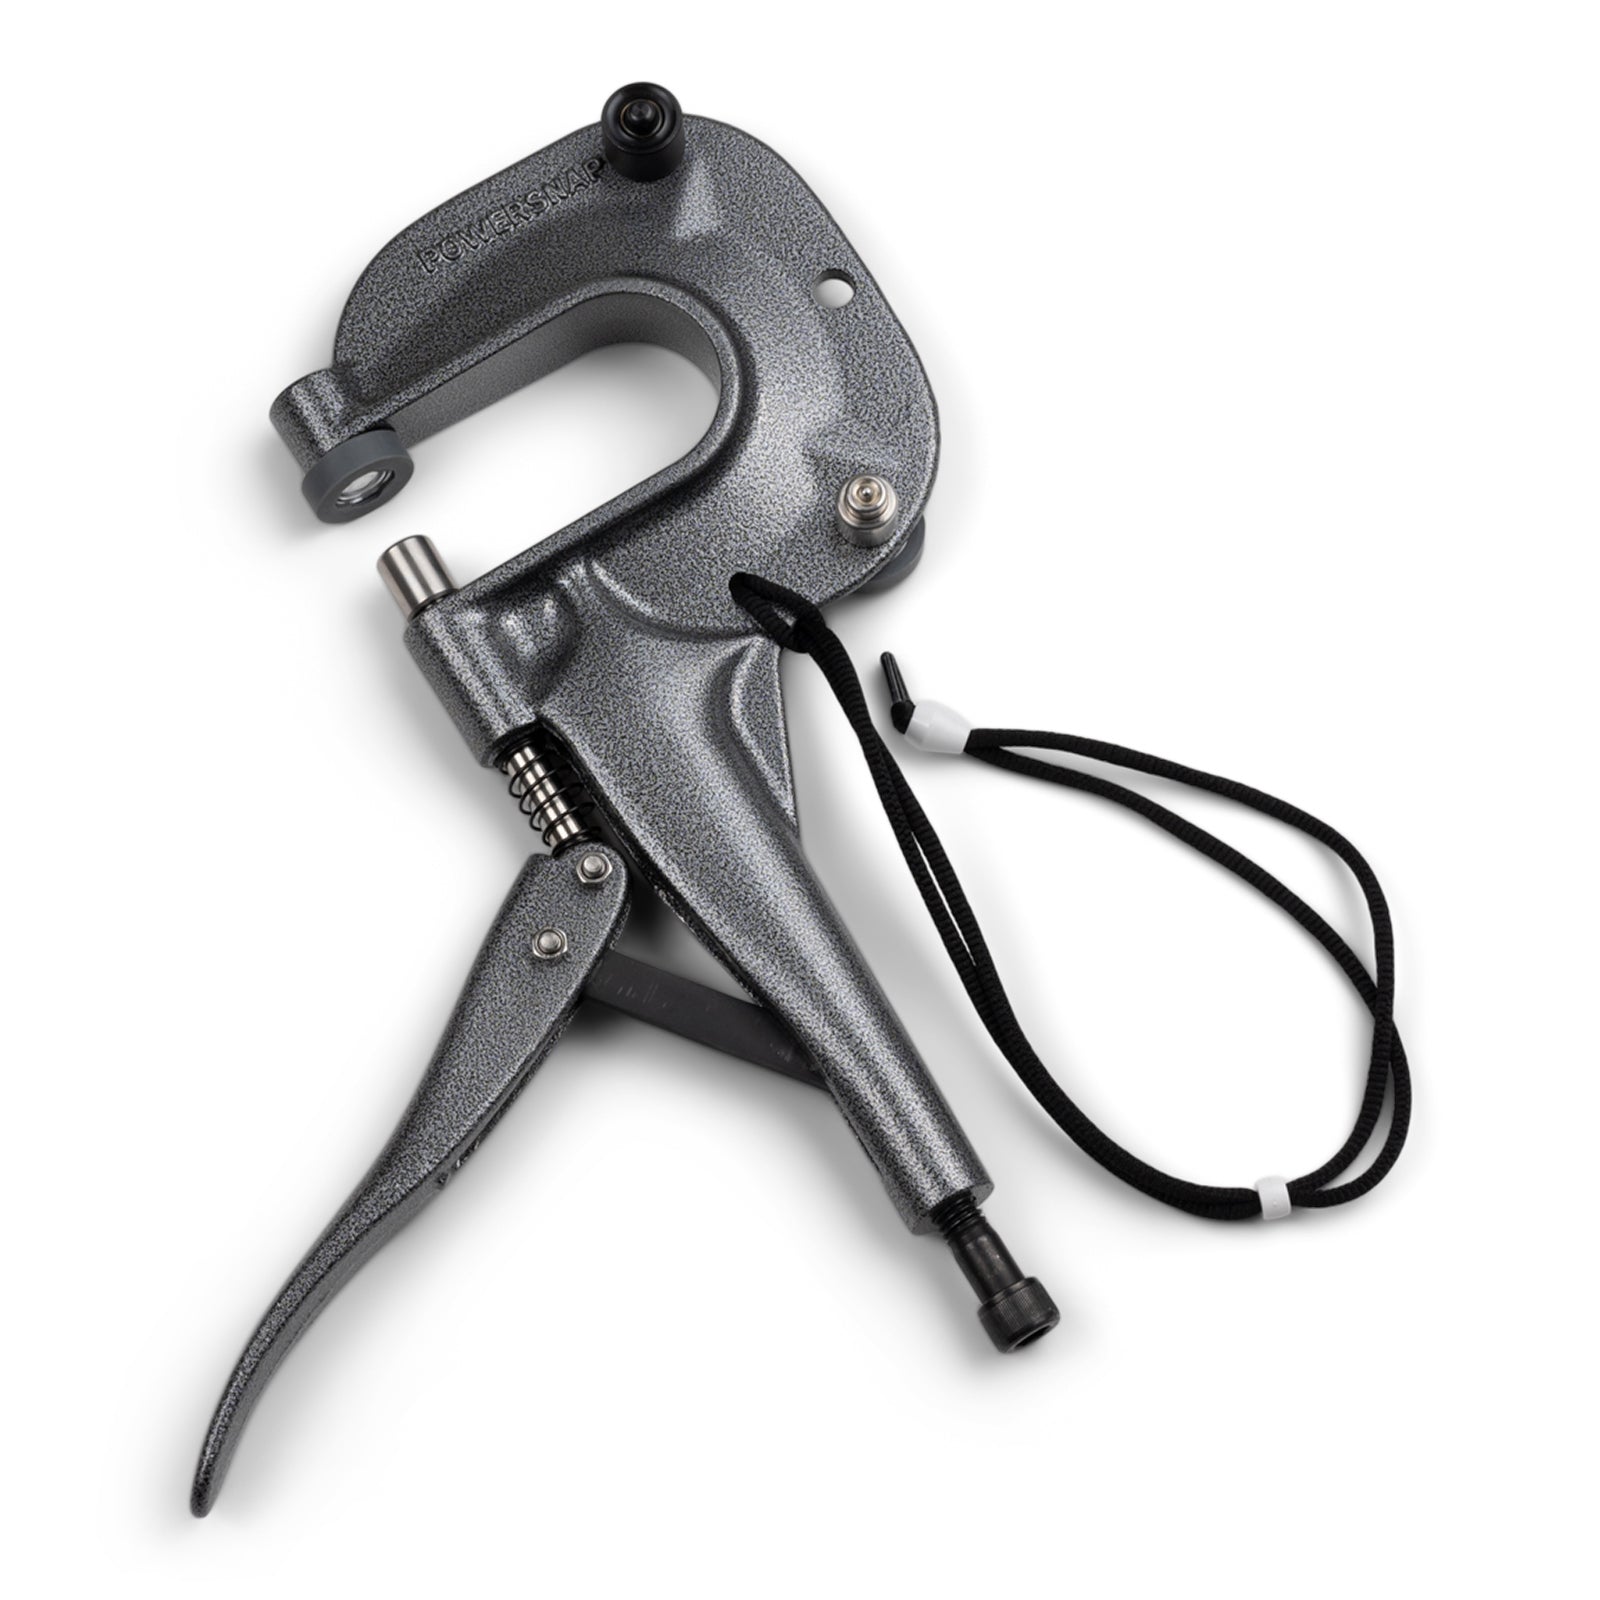
PowerSnap Snap & Grommet Setting Tool
Best tool for setting snaps and grommets without a die press
Snaps, twist-lock fasteners and spur grommets all need to be set with real, even pressure through a matched die, and doing it with a hammer and a socket produces cocked, leaking, or loose fasteners more often than not. A dedicated hand press gets a consistent, properly seated result on deck without hauling gear to a shop. Buy the die sizes that match the snap and grommet hardware you've actually chosen before starting — hardware brands are not universally interchangeable, and a mismatched die will mangle both the fastener and the fabric around it.
- Function
- Hand-operated tool for setting common snap and grommet sizes into canvas and vinyl
- Dies
- Interchangeable dies for different snap and grommet sizes
- Operation
- Squeeze-lever action, no mallet or anvil required
- Portability
- Small enough to use on deck or at a cockpit table
Pros
- Consistent, properly seated snaps every time, instead of the uneven set you get hammering a die by hand
- No need for a bench-mounted arbor press, which most DIY sewers don't have room or budget for
- Interchangeable dies cover the common snap and grommet sizes used across most canvas hardware brands
Cons
- Dies are size- and often brand-specific, so mixing hardware brands can mean buying an extra die set
- Still takes practice to avoid crushing softer vinyl before you get a feel for the right pressure
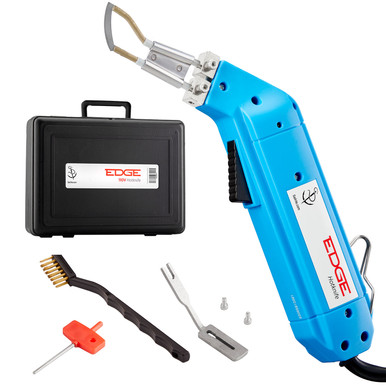
Sailrite Edge Hotknife
Best tool for cutting synthetic canvas without fraying
Scissors leave a raw edge on woven acrylic that starts to fray within a wash cycle, which is a real problem on a panel edge that's about to be folded, bound and sewn. A hotknife melts and seals the cut in the same motion, so hems stay sound and webbing ends don't need a lighter pass afterward. Work over a heat-safe cutting surface, outdoors or in a well-ventilated space, and keep the blade moving at a steady pace — lingering in one spot scorches rather than seals a clean edge.
- Function
- Heated blade that cuts and seals synthetic fabric edges in the same pass
- Power
- Corded electric, adjustable temperature on most models
- Best on
- Solution-dyed acrylic, polyester webbing, and other synthetic weaves — not natural fibers
- Blade
- Replaceable straight blade designed for continuous cutting rather than short snips
Pros
- Seals the cut edge as it cuts, so acrylic and webbing don't fray the moment you unroll fabric off a bolt
- Cuts long straight runs far more cleanly than scissors, which matters over an 8-foot dodger panel
- Doubles as the right tool for trimming webbing and strapping ends throughout the project
Cons
- Produces fumes from melting synthetic fiber and needs to be used with ventilation, not in a closed cabin
- Not suited to natural fiber canvas or fabrics that scorch rather than seal cleanly
How to choose
The core kit for a first project is smaller than it looks: a walking-foot machine, fabric, matched thread and needle, a hotknife, and a way to set the hardware you choose. Everything else — patterning tape, basting tape, cleaning and re-treatment products — is inexpensive and consumed as you go.
| Item | Role | Skip it if... |
|---|---|---|
| Walking-foot machine | Feeds multiple stacked layers evenly through a seam | You're only ever sewing single-layer light fabric |
| Sunbrella acrylic | Default fabric for covers and vertical panels | Project is a fully waterproof horizontal top — consider vinyl |
| Sail cover kit | Guided, pre-cut first real project | You already have patterning experience from another craft |
| Hotknife | Clean, sealed cuts on synthetic fabric and webbing | You're only doing a single small project — sharp scissors plus a lighter can substitute |
| Snap/grommet press | Consistent, properly seated hardware | Your project uses zippers or hook-and-loop only |
| Fabric guard | Annual UV and water-repellency maintenance | Never — every finished piece needs this eventually |
On a tight budget: a basic portable walking-foot machine, yardage of Sunbrella for a single project, and hand-set snaps get a winch cover or sail cover built for a modest total outlay, with the machine as the reusable investment for future projects.
Mid-range: add a hotknife and a dedicated snap/grommet press, and buy fabric guard alongside your fabric so the finished project starts its maintenance cycle from day one rather than after the first UV damage shows up.
Going further: once you're comfortable with straight-seam projects, budget separately for pattern film, additional walking-foot accessories (zipper feet, binding attachments) and clear vinyl if you intend to eventually attempt window panels — these add up but only need to be bought once you're actually ready for that step.
Frequently asked questions
Can I sew marine canvas on a regular household sewing machine?
You can sew a single layer of light fabric, but most real canvas work — two to four layers of acrylic, foam and vinyl stacked at a seam — needs a walking-foot (compound feed) machine. A household machine's single feed dog lets the top layer creep ahead of the bottom, causing puckered or skipped stitches exactly where the seam needs to be strongest. A portable walking-foot machine like the Sailrite Ultrafeed is the realistic minimum for a bimini, dodger or heavy sail cover.
What thread and needle size should I use for canvas?
V69 bonded polyester with a size 16 or 18 needle suits most single-layer and lighter sail cover work; V92 with a slightly larger needle handles heavier multi-layer bimini and dodger seams. Use UV-stabilized polyester for anything that stays outdoors — untreated thread degrades in sunlight faster than the fabric around it and is often the first thing to fail on old covers. PTFE thread costs more but resists UV even longer and doesn't need periodic reinforcement the way polyester eventually does.
Should I use Sunbrella, vinyl, or mesh for a given project?
Solution-dyed acrylic (Sunbrella) is the right default for covers, sun shades and most exposed vertical panels — it breathes, resists color fade, and is what most patterns assume. Coated vinyl suits horizontal bimini and dodger tops where waterproofing matters more than breathability. Mesh (Sunbrella or similar shade cloth) is for sun shades and cockpit enclosures where airflow matters more than full sun blockage. Clear vinyl is reserved for dodger and enclosure windows and ages faster than any other material in the kit, so plan to replace it on its own schedule.
What can a DIY sewer realistically build first?
Start with winch covers and simple pouches to learn pinning, basting tape and straight seams, then move to a sail cover, which is nearly all straight seams and one closure. From there a flat sun shade or cockpit cushion cover teaches basic patterning, and a bimini top or dodger — with curved seams, structural bows and clear vinyl windows — comes last. Each step adds one new skill rather than several at once.
How much does DIY canvas work actually save versus a canvas shop?
Fabric, thread and hardware for a self-built project typically cost a fraction of a shop's finished price, since labor is most of what a canvas shop bills for on a complex piece. The savings are largest on simple, high-labor items like winch covers, sail covers and flat shades. On a full dodger or enclosure with compound curves and clear vinyl windows, the time investment to get a professional-looking result the first time is substantial, and a shop's experience with patterning tight curves is hard to replace on a first attempt — many DIY sewers build their own covers and shades but still commission a shop for the dodger, as covered in our bimini, dodger and enclosure guide.
How do I keep DIY (or shop-built) canvas from failing early?
Re-treat fabric with a UV-rated fabric guard roughly once a season, since UV degradation — not rain — is what actually breaks down both the fiber and the thread over time. Rinse salt and grit off regularly, since embedded grit abrades the weave from the inside every time the fabric flexes. Watch stitching lines for the first signs of thread failure, which almost always shows up as loose or broken thread before the fabric itself tears, and restitch worn seams promptly rather than waiting for a full seam to let go.
Looking for more gear guides? Browse all our gear recommendations or the full guides index.