Sailboat Solar Sizing: How Many Watts You Actually Need
Most sailors ask "how many watts of solar do I need" as if there's a universal answer — there isn't. The right number comes from a simple amp-hour audit of what you actually run each day, divided by the realistic sun-hours your cruising ground and mounting location will deliver. Get that math right first and the panel choice becomes easy: a 32ft coastal cruiser with basic instruments typically lands around 200-300W, a 40ft liveaboard with refrigeration around 400-600W, and a bluewater boat running a watermaker often needs 600-1000W or more.
This is the sizing companion to our marine solar panels guide, which compares rigid, flexible, and portable panel hardware. Read this one first to work out your target wattage, controller size, and mounting approach — then use that guide to shop for the actual panel.
Sailboat Atlas may earn a commission from qualifying purchases made through links on this page, at no extra cost to you.
Step one: audit your daily amp-hour consumption
Before you think about panels at all, write down every DC load on the boat and how many hours a day it actually runs — not how many hours it could run. This single spreadsheet is the difference between solar sizing that works and solar sizing that's a guess dressed up as math. For each device, multiply its rated current draw (in amps) by the hours it runs per day to get amp-hours (Ah) consumed.
The big line items on most cruising boats, roughly in order of impact: a compressor fridge or fridge/freezer typically averages 3-6A while running, cycling on and off roughly 30-50% of the time, for a daily total often in the 30-70Ah range depending on insulation, ambient temperature, and box size. An autopilot under sail draws intermittently but can add 20-50Ah a day on a passage, more in a seaway where the drive is working constantly. Instruments and chartplotters running continuously might draw 1-3A combined, adding up to 15-30Ah over a full day. LED cabin and nav lighting is usually a minor load unless anchor lights or deck floods run all night. A watermaker is in a different league entirely — even an efficient DC unit can draw 15-25A for the hour or two it takes to make a day's water, adding 20-50Ah in a short, concentrated burst.
Add a margin for things people forget: phone and laptop charging, an inverter's own idle draw if it's left on, bilge pump cycling, and stereo or entertainment systems. Total it up and you have your target daily amp-hour consumption — the number everything else in this guide works backward from. If you already have a battery monitor aboard, use its logged data instead of estimates; our marine battery monitors guide covers how to read that history properly.
Step two: figure out realistic sun-hours, not rated wattage
A panel's wattage rating is measured under lab conditions — 1000W/m² of irradiance, 25°C cell temperature, sun directly overhead. A boat deck almost never sees those conditions simultaneously, so the industry shorthand is "peak sun hours": the number of hours per day, if the sun delivered its peak intensity the whole time, that would produce the same total energy as the real, varying sun across a full day.
Peak sun hours vary by latitude and season more than most sailors expect. Cruising the Caribbean or Bahamas in winter, expect roughly 4.5-5.5 peak sun hours on a clear day. The U.S. Pacific Northwest or New England in summer might give 4-5 hours on a good day, but far less under the Northwest's frequent cloud cover. High-latitude cruising — the Pacific Northwest in winter, or northern Europe outside summer — can drop to 1-2 usable hours a day, which is why boats that winter aboard in those latitudes rarely rely on solar as a primary source. Overcast days anywhere can cut production to a fraction of a clear-sky day, and multi-day cloudy stretches at anchor are the scenario that actually breaks an undersized solar plan, not the average day.
Use a conservative seasonal number for your actual cruising grounds, not an annual average, and size for the worst season you'll spend significant time in — not the best one.
Step three: derate for real-world losses
Even with an honest sun-hours number, a boat-mounted panel loses output to several factors that a spec sheet doesn't show. Temperature is the biggest one: solar cells lose efficiency as they heat up, and a dark panel sitting in direct sun on a hot deck can run 20-25°C above ambient, which on a typical panel's temperature coefficient can cost 10-15% of rated output on a hot day. Wiring and controller conversion losses take another 5-10%. Panels that aren't kept clean of salt film lose a further few percent. Add it up and a reasonable planning derate for a well-mounted, unshaded panel is roughly 75-80% of its nameplate wattage under good sun — before you even factor in shading.
A practical sizing shortcut: take your panel's rated wattage, multiply by your realistic peak sun hours, then multiply by a 0.75 derate factor to get an honest daily amp-hour estimate at your system voltage. A 200W panel getting 5 peak sun hours in a 12V system produces roughly 200 × 5 × 0.75 ÷ 12 ≈ 62Ah on a good day — not the 83Ah a naive watts-times-hours-divided-by-volts calculation would suggest.
Shading from the rig, boom, and dodger costs more than you think
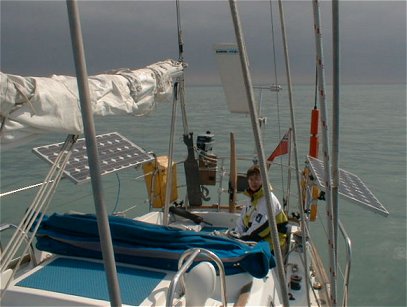
Shading deserves its own section because it behaves nothing like a proportional loss. Most rigid panels wire their cells in series strings, and a series string only produces as much current as its weakest (most shaded) cell. That means a shadow from a boom, backstay, or radar mount crossing even one row of cells can drop the panel's entire output to a small fraction of what an unshaded panel next to it produces — not just the shaded percentage of the panel's area.
Some panels mitigate this with bypass diodes that isolate a shaded cell string, and better MPPT controllers with multiple maximum-power-point algorithms recover more of the unshaded string's output than older single-point-tracking controllers did. But the honest fix is mounting: put panels where the boom, backstay, and dodger frame won't regularly cross them at the sun angles you actually sail in. An arch mounted well aft and above boom height is popular specifically because it clears most of this shading; a bimini-top panel is usually shaded by the boom itself for part of every tack. If a panel location is unavoidably shaded part of the day, consider wiring it to its own dedicated small controller rather than combining it in series with an unshaded panel, so one doesn't drag the other down.
Mounting options and what each one costs you in output
Arch mounts aft of the cockpit are the gold standard for output because they clear boom shadow, sit high enough to avoid most rig shading, and can be angled or even tilted seasonally. The tradeoff is windage, weight aft, and a real fabrication project if you're adding one rather than buying a boat that has one. Bimini-top panels, semi-flexible units sewn or bonded to the bimini fabric, are the easiest retrofit on most cruisers but sit flat and are shaded by the boom on many points of sail — expect meaningfully lower real-world output than the same panel on an arch. Rail mounts along the stern pushpit or lifelines are a good compromise, keeping panels low and out of the way but exposed to spray and requiring careful swivel or hinge hardware if you want them tiltable. Deck-walkable panels (like flexible marine panels rated for foot traffic) let you use space you'd otherwise waste, at a real premium per watt and with more shading exposure since they sit flush. Flexible panels mounted to a hard structure (rather than flush to deck) split the difference — lighter and lower-profile than rigid framed panels, but typically shorter-lived than rigid monocrystalline in continuous marine UV and heat exposure.
There's no universally correct choice — it's a tradeoff between available space, budget, windage tolerance, and how much of a fabrication project you're willing to take on. Our marine solar panels guide goes deeper on specific panel hardware for each mounting style.
MPPT vs PWM, and sizing the controller correctly
A PWM (pulse width modulation) controller essentially connects the panel directly to the battery and switches it on and off to control charging, which means the panel's voltage gets pulled down to whatever the battery is at. An MPPT (maximum power point tracking) controller instead lets the panel operate at its own optimal voltage and converts that power down to battery voltage, recovering energy that PWM simply throws away — the difference is most pronounced when panel voltage is much higher than battery voltage, when temperatures are cold, or when the array is partially shaded.
For nearly every cruising sailboat with more than a single small panel, MPPT pays for itself in recovered energy over a season or two. PWM still has a place on very small systems — a single 50-100W panel trickle-charging a battery — where the price gap isn't worth closing.
Size the controller to your array's total rated wattage divided by your system voltage, with margin: a 12V system with 400W of panel draws roughly 33A at full output, so a 40A controller gives comfortable headroom for temperature swings and future panel additions. Also check the controller's maximum PV open-circuit voltage rating against your panel wiring — wiring panels in series raises voltage and lets you use one controller for more panels, but only up to that voltage ceiling.
Wiring, fusing, and how solar interacts with a lithium bank
Solar wiring needs the same discipline as any other DC circuit: size cable for the actual current at the actual run length to keep voltage drop low, and fuse or breaker-protect both the panel-to-controller and controller-to-battery legs. A panel array is a live current source any time it sees light, so isolate it properly before working on the system, and use a combiner box with individual branch fuses if you're wiring multiple panels in parallel so a fault on one panel doesn't feed back into the others.
Lithium changes the charging picture in a genuinely useful way for solar. Lead-acid batteries taper their acceptance current well before they're full, so a chunk of your rated solar output goes unused for much of the charge cycle. A LiFePO4 bank accepts close to its full rated charge current right up near full state of charge, so a correctly sized array actually delivers closer to its potential output into a lithium bank than the same array would into lead-acid. That's part of why boats upgrading to lithium often report their existing solar "suddenly performs better" — the batteries stopped throttling it. If you're weighing that upgrade, our best lithium batteries guide covers the specifics of sizing and charging a marine LFP bank.
Our picks
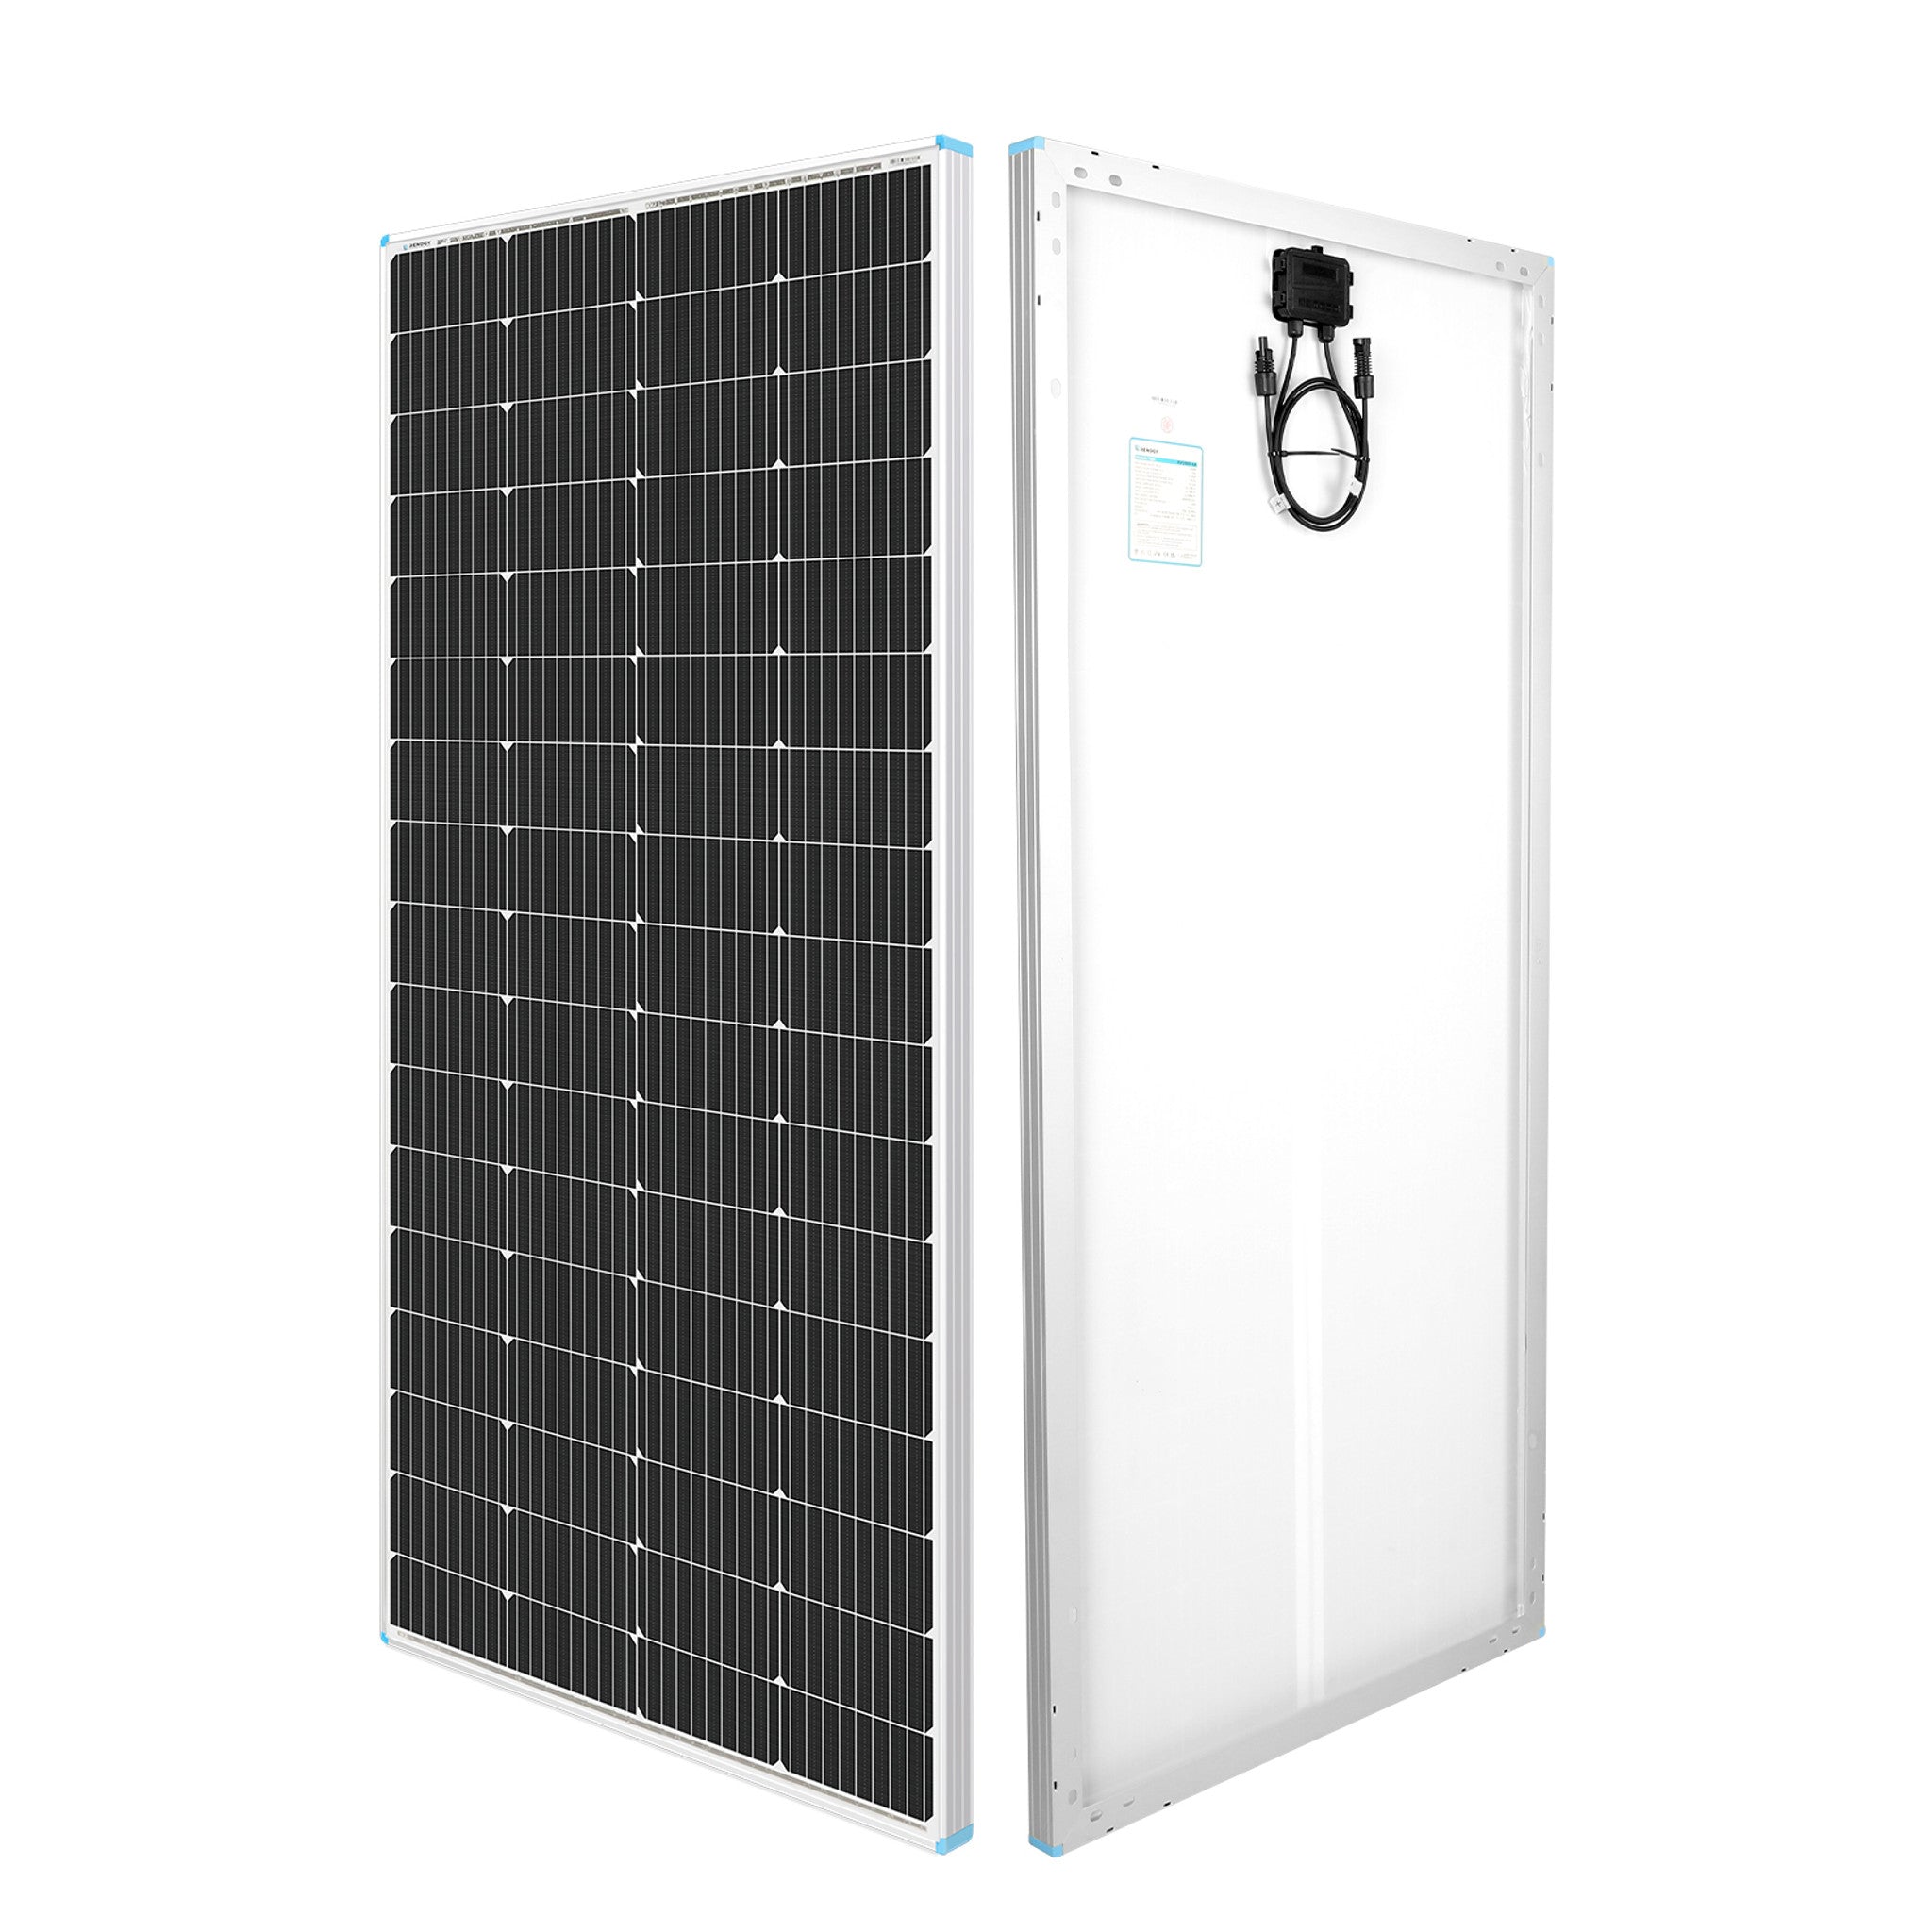
Renogy 200W Monocrystalline Rigid Panel
Best baseline rigid panel for a sizing exercise (100-200W class)
Use a panel like this as the unit you plug into the amp-hour math below: a nameplate 100-200W monocrystalline module with a well-documented Voc and temperature coefficient. Newpowa's equivalent-wattage rigid panels spec almost identically and are a fine substitute. The point of this pick is not brand loyalty — it is that rigid mono panels remain the cheapest way to buy a known, verifiable wattage, which is exactly what a sizing worksheet needs.
- Wattage
- 200W (nominal), Voc ~24.3V
- Dimensions
- 58.7 × 26.8 × 1.4 in
- Weight
- ~26 lb
- Warranty
- 25-year power output, 5-year materials
Pros
- Good watts-per-dollar for a name-brand monocrystalline cell
- Standard MC4 connectors and a common Voc, so it slots into almost any sizing calculation without surprises
- IP68 junction box tolerates spray and washdown
Cons
- Rigid aluminum frame is heavy and needs a real mounting structure — not something to bolt to a fiberglass deck without backing
- As a fixed-tilt boat-mounted panel it will rarely deliver its full 200W rating in practice; use it as a reference point, not a promise
Solbian SP125 Flexible Panel
Best walkable panel where deck space doubles as panel space
Solbian's SP125 solves the mounting problem rather than the wattage problem: it goes where a rigid panel and arch physically cannot, on a coachroof, hatch, or foredeck. Because it sits flat rather than tilted toward the sun, plan on the low end of your derating range for it, and expect more shading loss from the boom, dodger, and rig than a boom-clear arch panel would see. It earns its price on deck-limited or bluewater boats where windage and weight aloft matter more than up-front cost.
- Wattage
- 125W SunPower cells
- Dimensions
- 43.5 × 21.7 × 0.08 in (~2mm thin)
- Mounting
- Adhesive or fabric-sewn, no frame or standoffs
- Warranty
- 5-year performance, 2-year materials
Pros
- Genuinely load-bearing — one of the few flexible panels rated to be walked on and trusted on a foredeck or coachroof
- Adds real wattage to a boat with no room for an arch, without adding windage or weight aloft
- Thin enough to conform to a curved coachroof or hatch without stress-cracking cells
Cons
- Significantly more expensive per watt than a rigid panel of the same output
- Sits flush on deck, so it inherits every bit of shading from the boom, dodger, and crew feet — factor that into your sun-hours estimate, not just the rated wattage
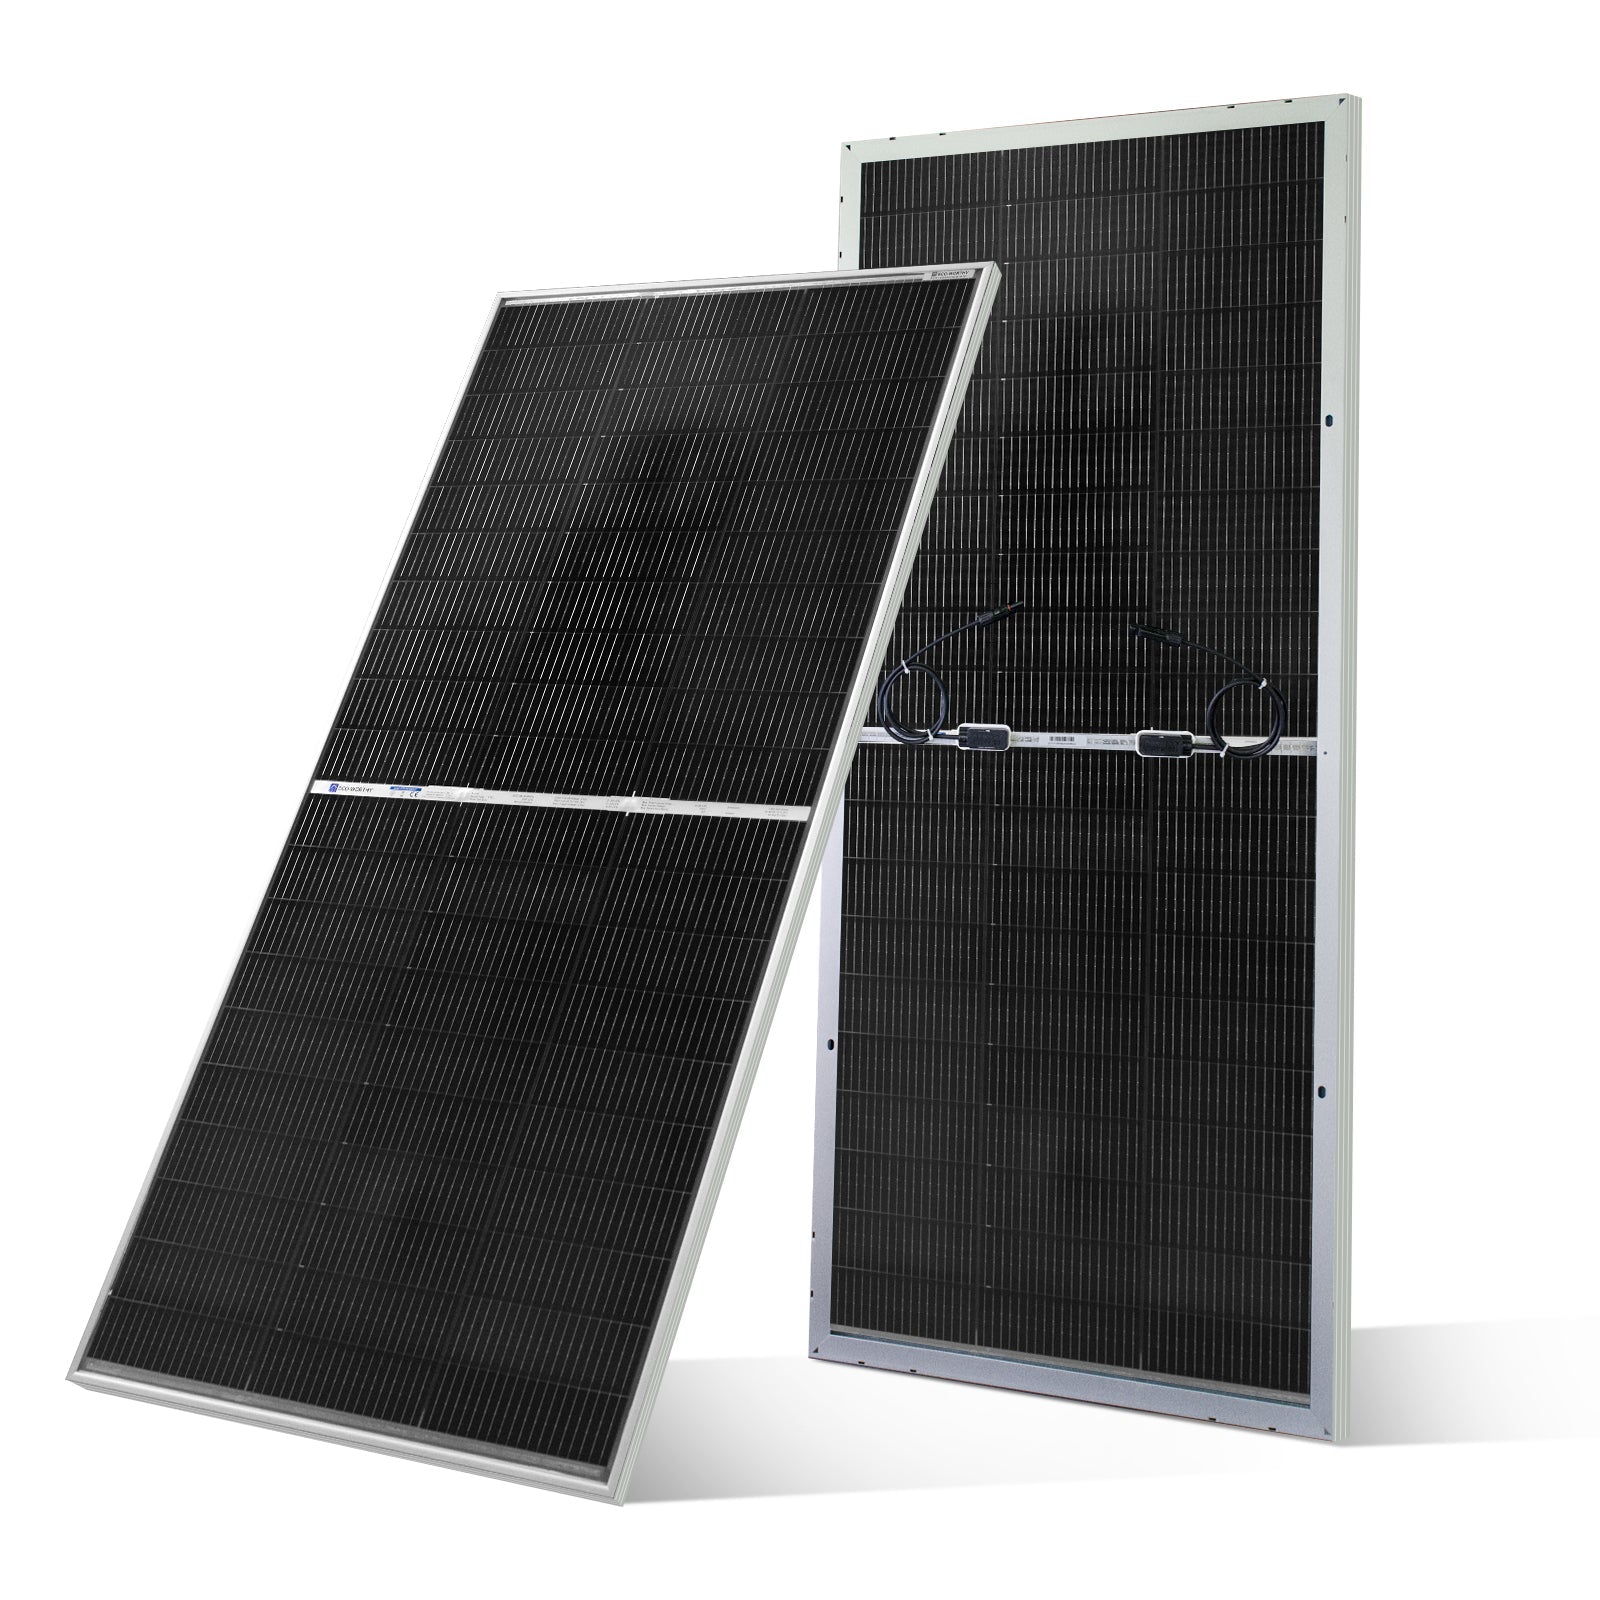
ECO-WORTHY 195W N-Type Bifacial Panel
Best budget high-watt panel for arch or rail arrays
Treat the bifacial claim as marketing noise for marine use: without an open gap and a light-colored surface underneath to bounce photons onto the rear cells, you get front-side output only, which is still a genuinely good price per watt. This is the panel to reach for when the sizing math says you need 500-600W and the budget says otherwise — three of these on an arch cost meaningfully less than three name-brand monocrystalline panels of the same rating.
- Wattage
- 195W front-side rated, N-type bifacial cells
- Bifacial gain
- Rear-side gain requires an air gap and reflective surface below — negligible flush-mounted
- Frame
- Rigid aluminum frame, similar footprint to standard 200W panels
- Typical price
- Lower cost per watt than name-brand rigid panels
Pros
- Lowest cost per rated watt of the panels here, useful when an array needs three or four panels rather than two
- N-type cells hold up reasonably well in partial shade and heat compared with older poly designs
- Standard rigid mounting means it fits the same arch or rail brackets as other 200W-class panels
Cons
- The bifacial rear gain that shows up in marketing numbers is essentially unavailable on a boat, since panels are flush-mounted with no light reaching the back — budget for the front-side wattage only
- Build quality and long-term warranty support are less proven than Renogy or Newpowa on the used and cruiser-forum record
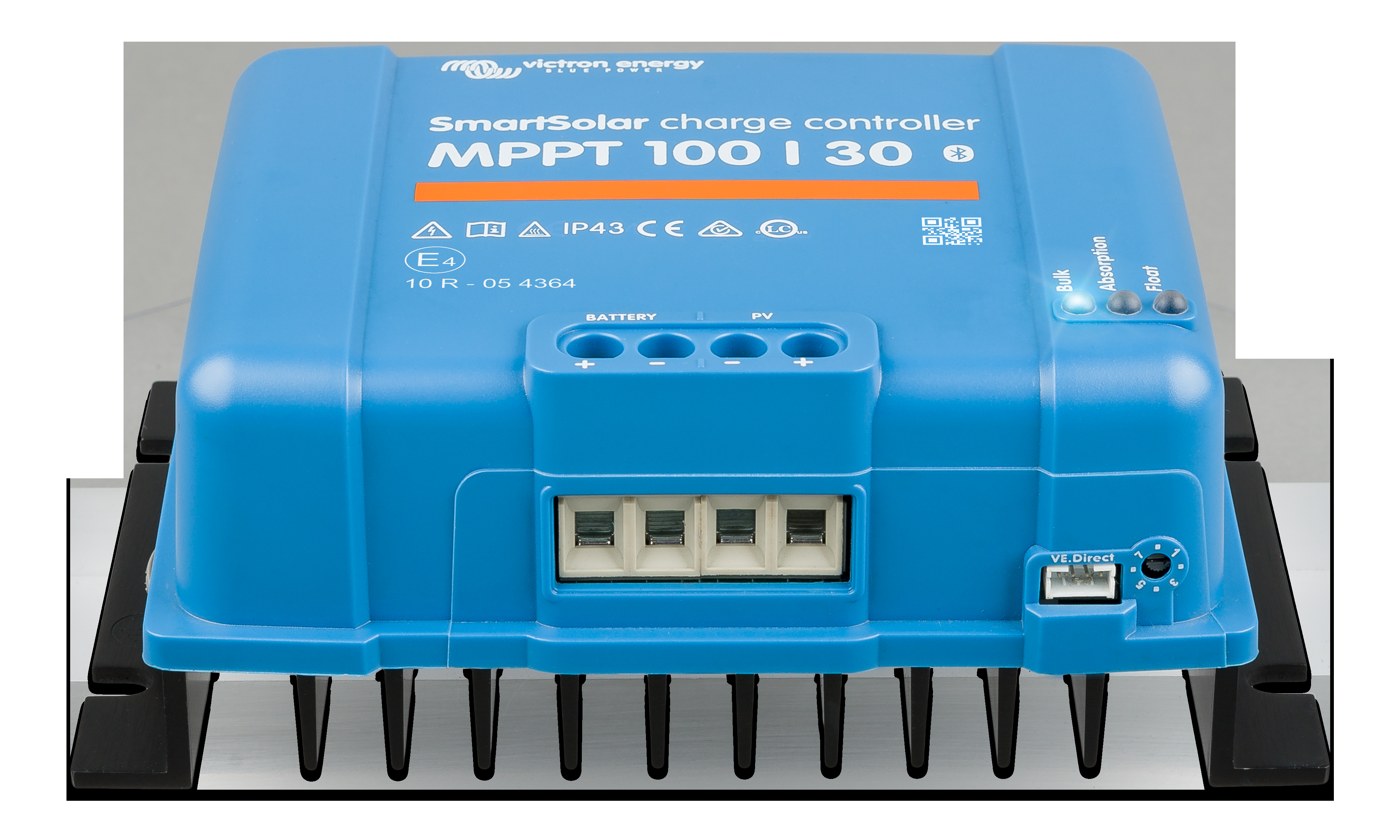
Victron SmartSolar MPPT 100/30
Best small-array MPPT controller with real monitoring
Size the controller to the array, not the other way around: a 100/30 comfortably runs a 12V system with up to roughly 400W of well-matched panel, which covers the 32ft coastal cruiser example in this guide with margin. The real value here is visibility — the app shows daily yield in amp-hours, which is the only way to confirm your sizing math was right rather than close. If your worked-example total pushes past 400W, plan for a 100/50 or a 150V-rated unit instead of overloading this one.
- Max PV open-circuit voltage
- 100V
- Max charge current
- 30A
- System voltage
- 12V or 24V, auto-detect
- Monitoring
- Built-in Bluetooth, VictronConnect app, optional network integration
Pros
- Bluetooth monitoring shows real production, not a guess — the same instinct that should drive your whole sizing exercise
- Handles a two-in-series 100-200W panel wiring configuration cleanly within its 100V input limit
- Charge algorithms are properly documented and tunable for lithium, unlike many budget controllers
Cons
- 30A output caps this controller around 400-440W of panel at 12V — oversizing your array means stepping up to the 100/50 or a 150V model
- Costs more than an equivalent-rated PWM or generic MPPT controller
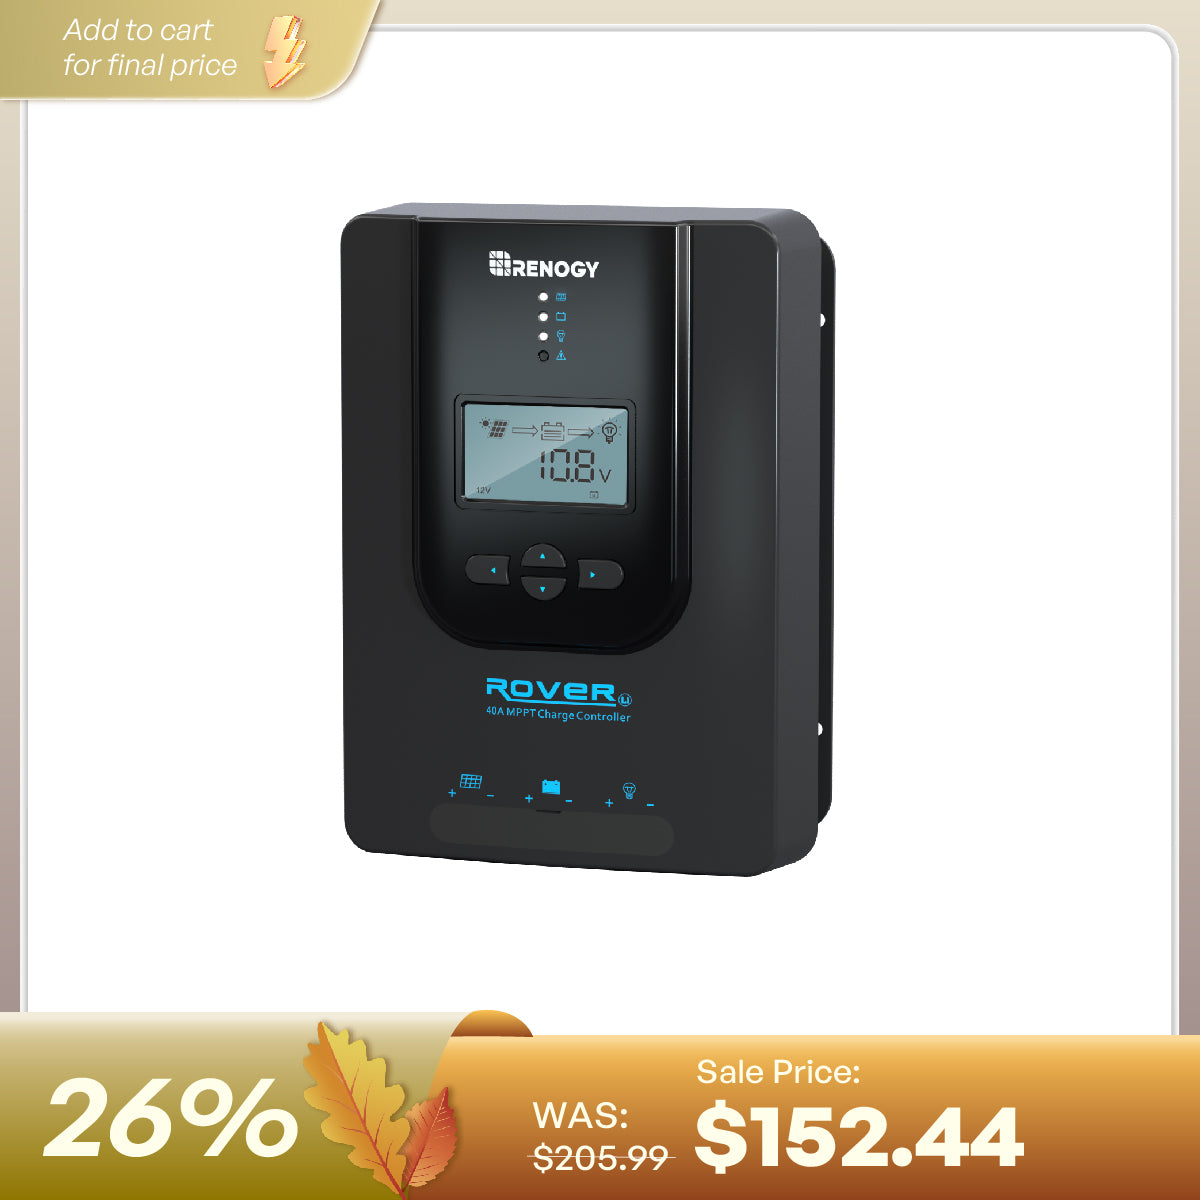
Renogy Rover 40A MPPT Charge Controller
Best mid-size controller for a two- or three-panel array
This is the controller for the middle case in this guide's worked examples: a 40ft liveaboard running two or three 175-200W panels feeding a few hundred amp-hours of lithium. The 40A ceiling gives room to add a panel later without a controller swap, and the field-adjustable charge parameters let you dial in absorption and float voltages to match your specific lithium bank rather than trusting a generic preset. Add the Bluetooth module if you want production data without climbing below to read the screen.
- Max charge current
- 40A
- System voltage
- 12V/24V auto-detect
- Display
- Built-in LCD with adjustable parameters, optional Bluetooth module
- Battery presets
- Sealed, gel, flooded, and user/lithium profiles
Pros
- 40A of headroom covers the 40ft liveaboard example's 500-600W array without immediately maxing the controller out
- On-unit LCD means you can check state of charge and production at the panel without a phone
- Widely stocked and inexpensive relative to its current rating
Cons
- Bluetooth is an optional add-on module rather than built in, an extra purchase if you want app monitoring
- Lithium charge profile is a generic user-defined setting rather than a certified communication protocol with your specific battery's BMS
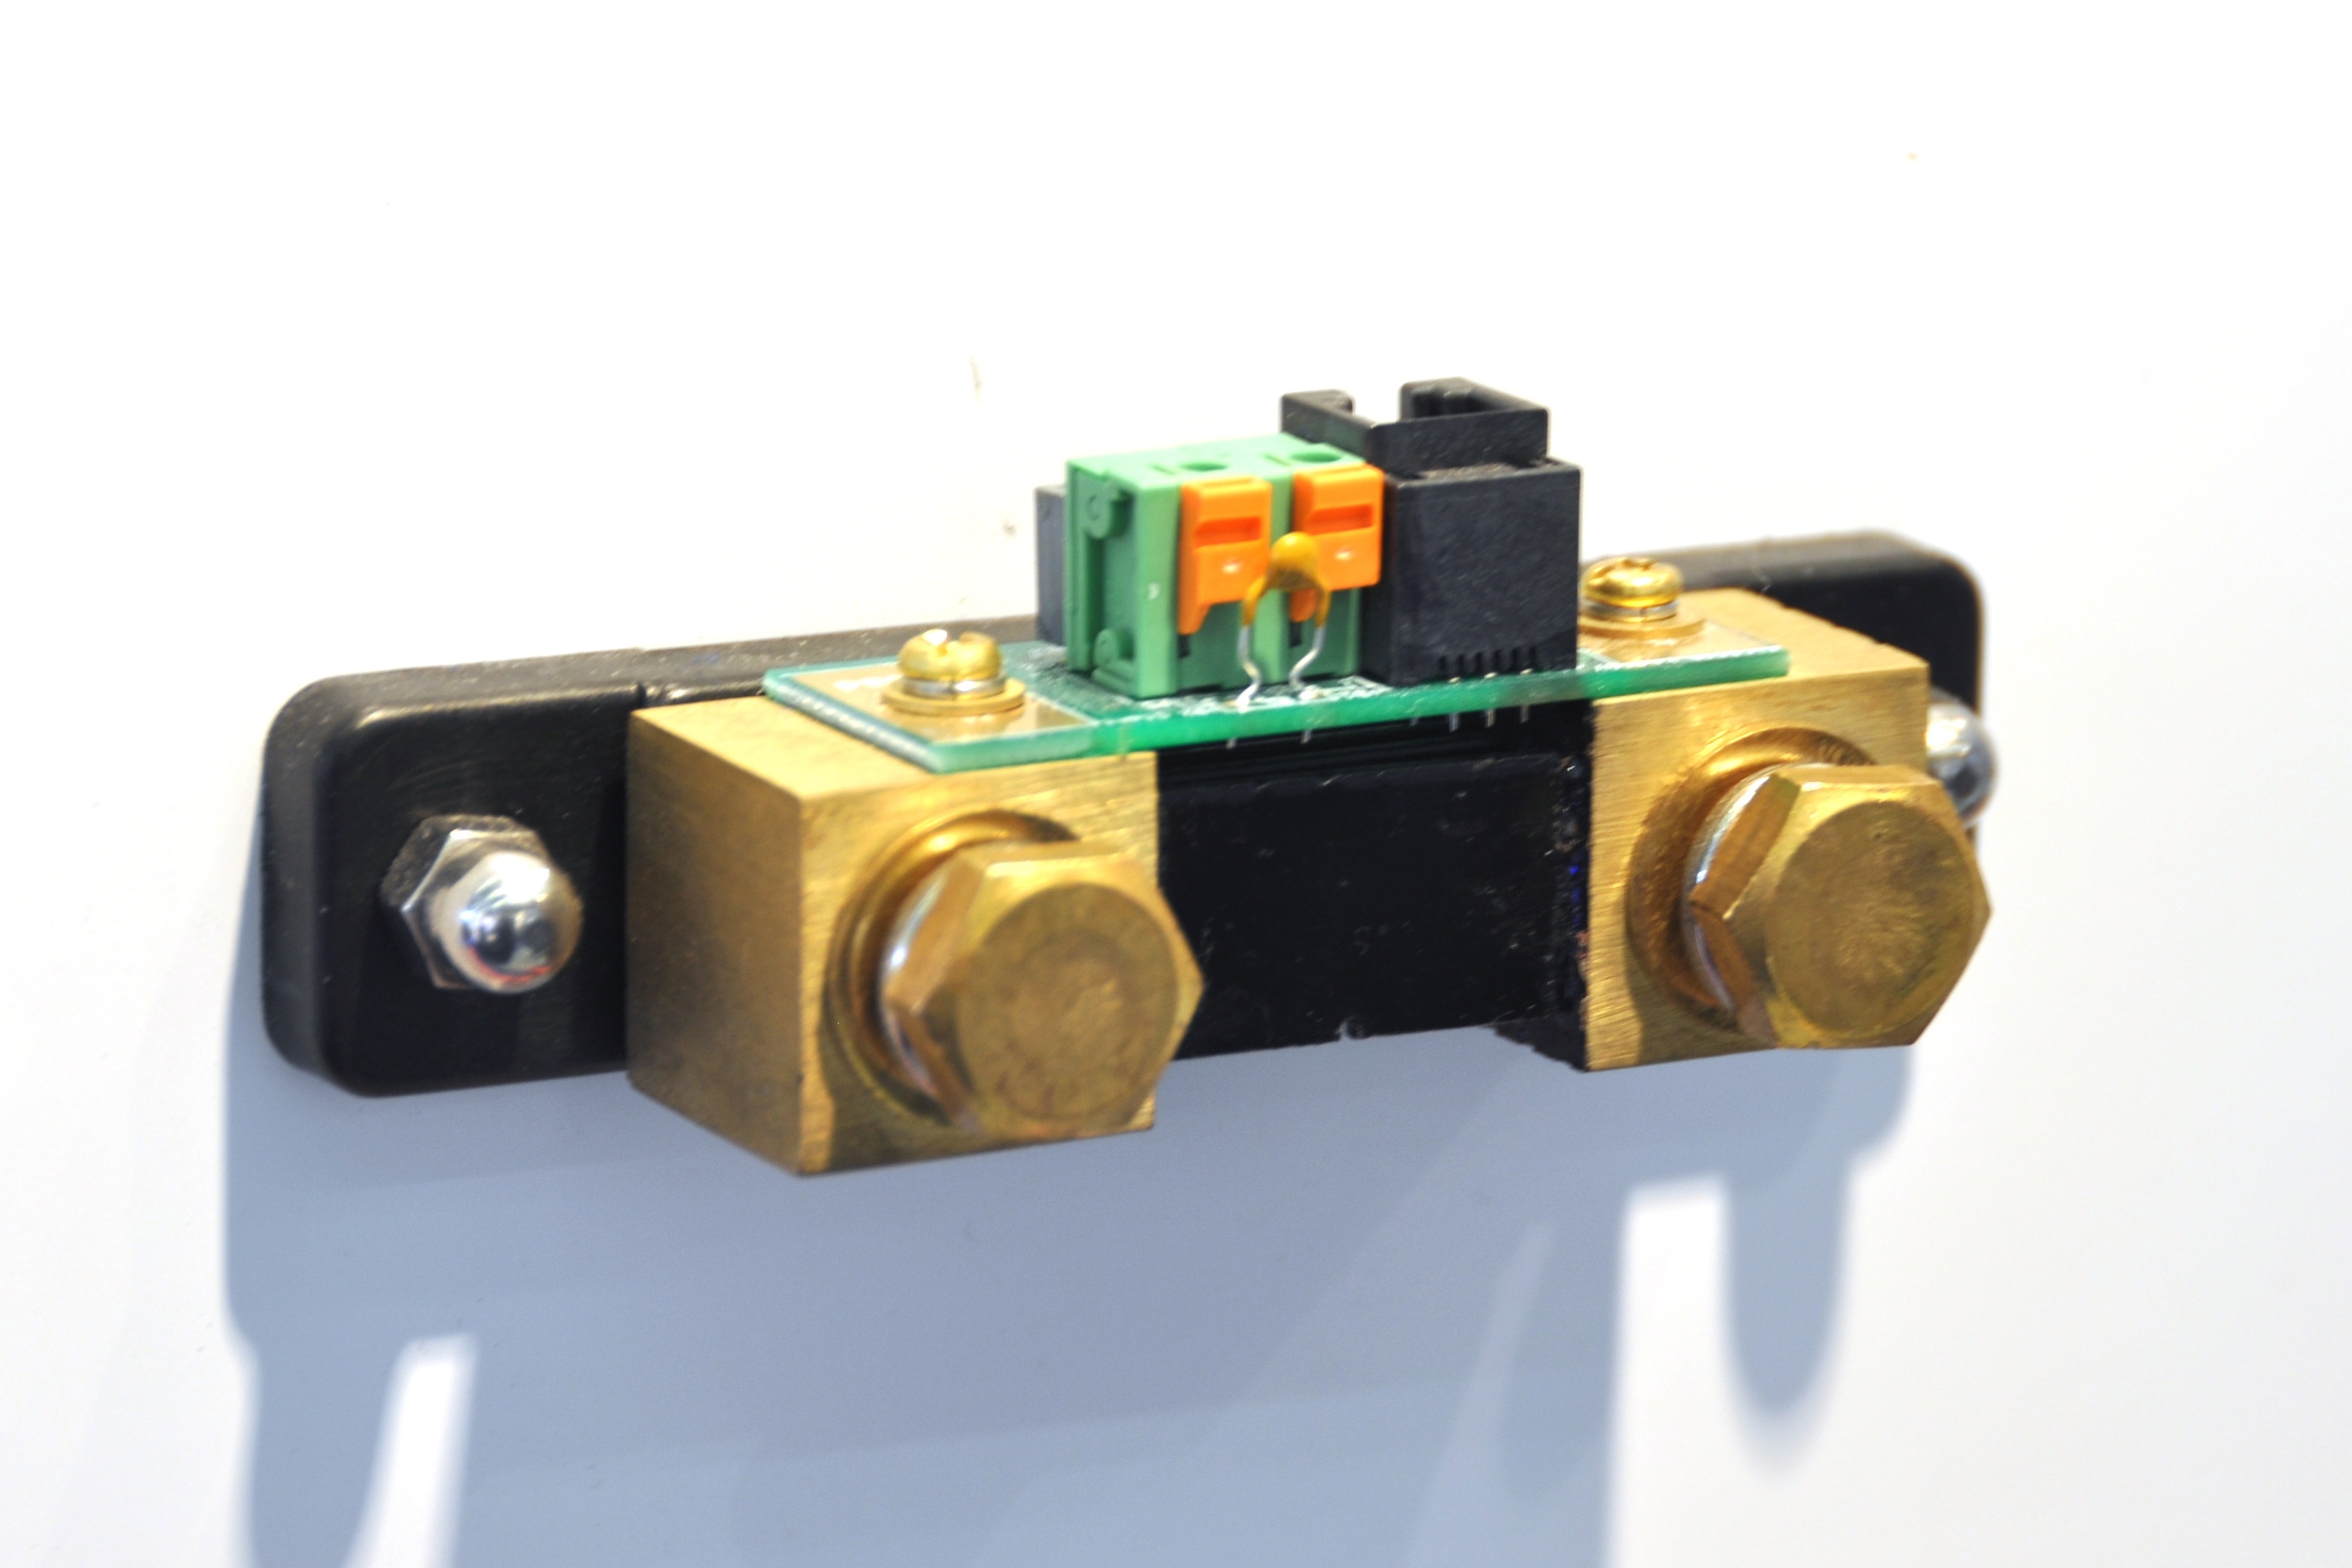
Victron SmartShunt 500A
Best way to measure what you actually consume before you size anything
Every worked example in this guide starts from an assumed daily amp-hour load, and assumptions are where solar sizing projects go wrong. A shunt-based monitor like the SmartShunt measures actual consumption over real days at anchor, including the fridge cycling and the autopilot working upwind, so you can replace guesses with your own boat's numbers before buying a single watt of panel. See our full breakdown in the marine battery monitors guide for how to read and log that data properly.
- Current rating
- 500A (also available in 1000A, 2000A)
- Monitoring
- Built-in Bluetooth, no separate display required
- Measures
- State of charge, amp-hours consumed, current in/out, time-to-go
- Installation
- Wires in-line on the battery negative, isolated from all house loads
Pros
- Turns the amp-hour audit in this guide from a spreadsheet estimate into a measured fact after a week aboard
- No separate display to find room for — everything reads on a phone
- Long-term data logging in the app shows real seasonal consumption swings, which is exactly what solar sizing needs
Cons
- Only measures consumption and net battery flow — it will not tell you how much of your solar deficit is shading versus undersized panels without also watching charge controller output
- Requires a clean, correctly torqued shunt installation; a loose connection produces silently wrong numbers
How to choose
The table below ties the three worked examples together. Treat these as planning starting points, not guarantees — always run your own amp-hour audit first.
| Boat profile | Est. daily load | Target array | Controller sizing |
|---|---|---|---|
| 32ft coastal cruiser, basic instruments | ~60-90Ah/day | 200-300W, one or two rigid panels | MPPT 100/20-100/30 class |
| 40ft liveaboard with refrigeration | ~120-180Ah/day | 400-600W across two to three panels | MPPT 100/30-100/40+ class |
| Bluewater boat with watermaker | ~180-260Ah/day | 600-1000W, arch plus supplemental deck panels | MPPT 100/50 or multiple controllers, plus wind or engine backup |
Budget tiers
Budget builds favor high-watt-per-dollar rigid panels like the ECO-WORTHY bifacial pick above, paired with a mainstream MPPT controller like the Renogy Rover, accepting a slightly less proven long-term track record in exchange for more watts per dollar spent.
Mid-range builds mix a name-brand rigid panel or two with a Victron or equivalent MPPT controller for better monitoring and charge-profile control, which matters more once a lithium bank is in the picture.
Premium builds, especially bluewater boats with deck space at a premium, add Solbian or similar flexible walkable panels to squeeze extra watts out of hatches and coachroof space that a rigid panel or arch can't use, at a real cost premium per watt.
Frequently asked questions
How many watts of solar do I actually need on a sailboat?
There is no single number — it depends entirely on your daily amp-hour consumption and the sun-hours you can expect. As a rough starting range, a coastal cruiser with modest loads often gets by on 200-300W, a liveaboard running refrigeration typically needs 400-600W, and a bluewater boat running a watermaker can require 600-1000W or more. Run the audit in this guide with your own appliances rather than relying on a generic wattage figure.
How is this guide different from your marine solar panels guide?
Our marine solar panels guide compares rigid, flexible, and portable panel options and helps you pick hardware. This guide is the sizing companion: it walks through the amp-hour audit, sun-hour assumptions, derating, shading, and controller math you should do before you decide how many watts and which panel type to buy. Read this one first, then use the panel guide to shop.
Do I need MPPT or is PWM good enough?
MPPT is worth the extra cost on almost every cruising sailboat, especially with lithium banks charging at lower voltages than panels are rated to produce. PWM controllers only make sense on very small arrays (under roughly 100W) where the price difference isn't worth an MPPT controller, or where panel and battery voltages are already closely matched. See the section below for the mechanics of why MPPT recovers more power from a partially shaded or angled array.
How much does rigging and boom shading actually cost me in output?
It varies hugely by boat and mounting location, but shading a single cell string on a conventional panel can drop that panel's entire output to a fraction of unshaded performance, not just the shaded fraction, because of how cells are wired in series. This is the single most underestimated loss in DIY solar sizing — budget generously for it rather than assuming a linear reduction.
Does adding a lithium battery bank change how I size solar?
Yes, in two ways. Lithium accepts a higher charge current and stays near its absorption voltage for much of the charge cycle, so a correctly sized array actually delivers closer to its rated output into a lithium bank than into lead-acid, which tapers current earlier. It also means your controller and wiring need to be sized for that higher acceptance rate, not just the panel's rated output.
Can solar alone keep a boat with a watermaker and refrigeration off shore power?
It can, but only with a realistic, honestly-audited load calculation and enough deck or arch area for 600W or more, plus a lithium bank sized to buffer against low-sun days. Many bluewater boats that run this configuration also carry a wind generator or a backup engine-driven alternator charge for cloudy, calm stretches, because solar alone struggles with several consecutive overcast days at anchor.
Looking for more gear guides? Browse all our gear recommendations or the full guides index.